moonacious greetings,
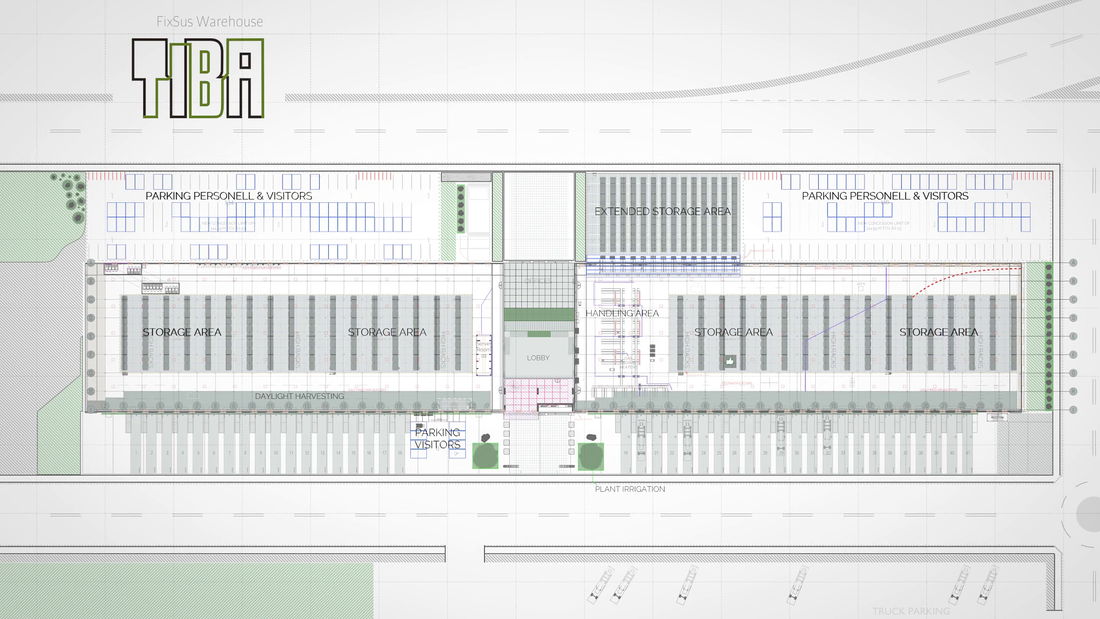
In late 2018 I finished my latest project: a Warehouse animation for FixSus bvba, Belgium. It was quite the behemoth to tackle and I'd love to show you how I did it in the following article. Sit back, get yourself some blender juice and enjoy the ride! (oh and increase your attention span from 8-12 seconds to a few minutes).
If you want to watch the animation right away, just click the youtube button down below.
If you want to watch the animation right away, just click the youtube button down below.
|
BACKSTORY
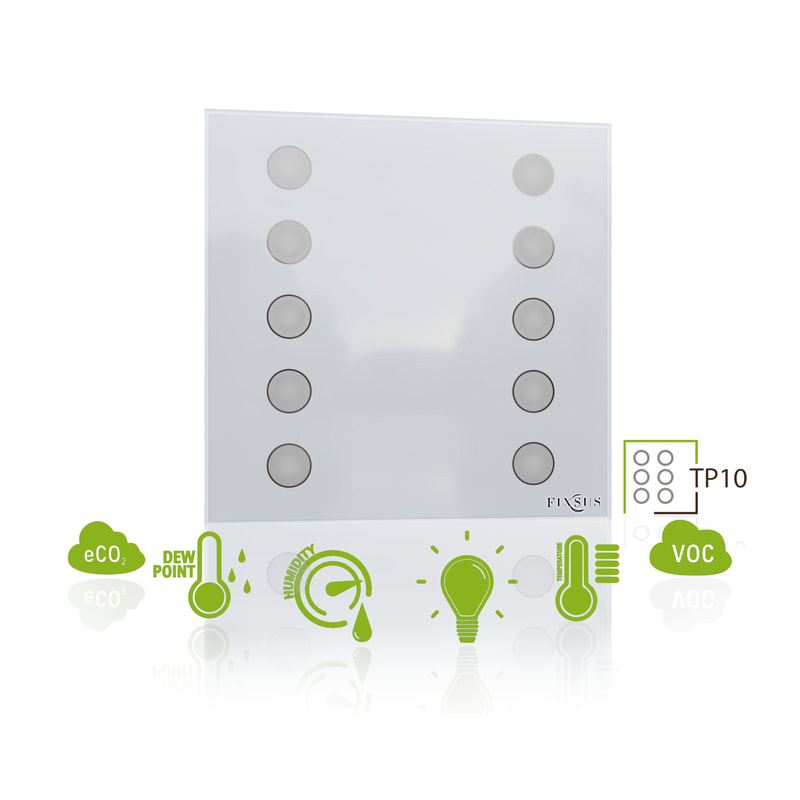
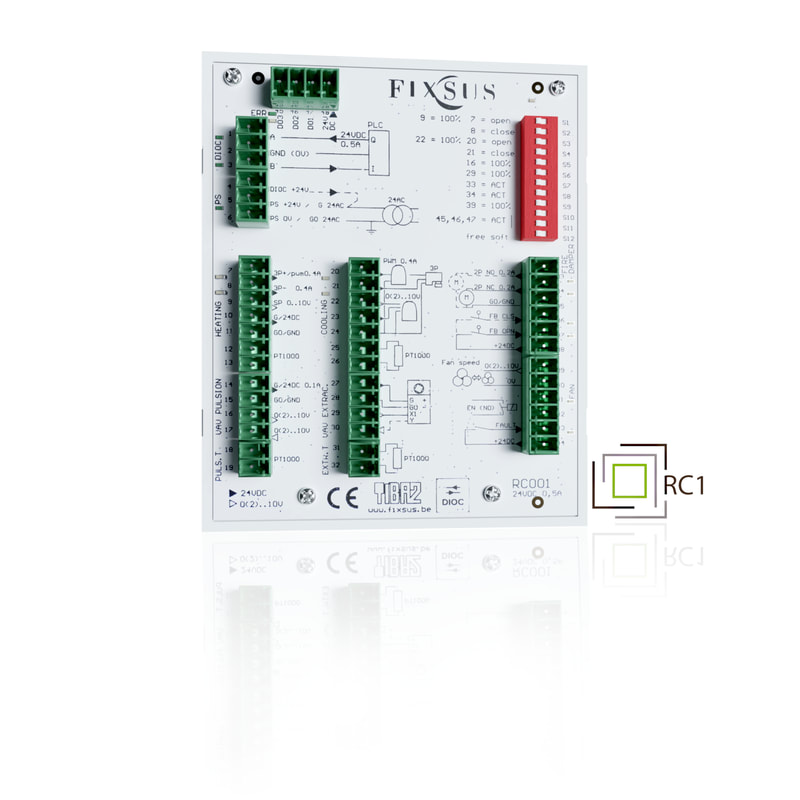
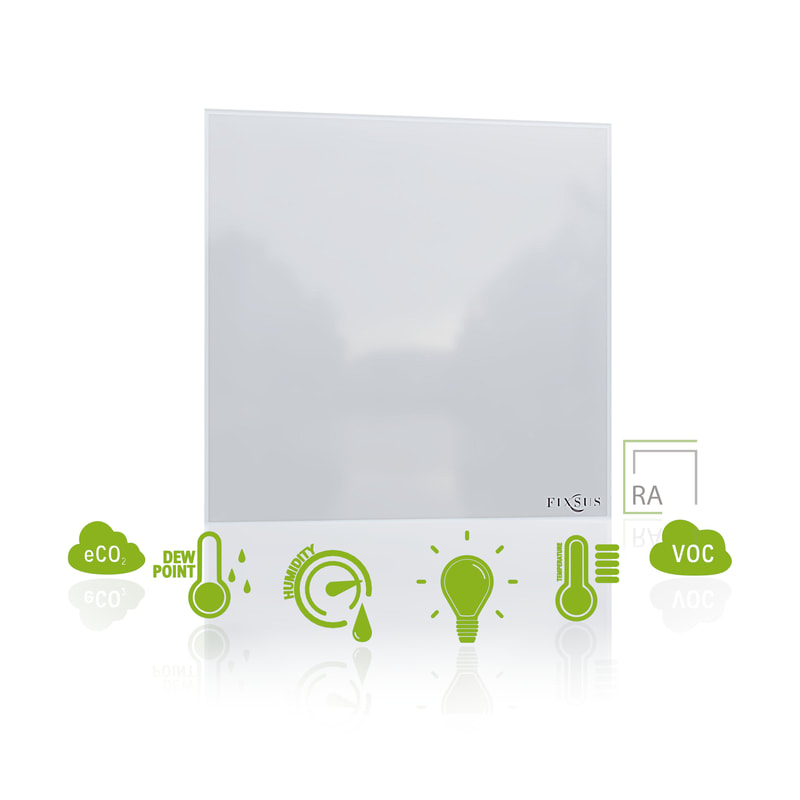
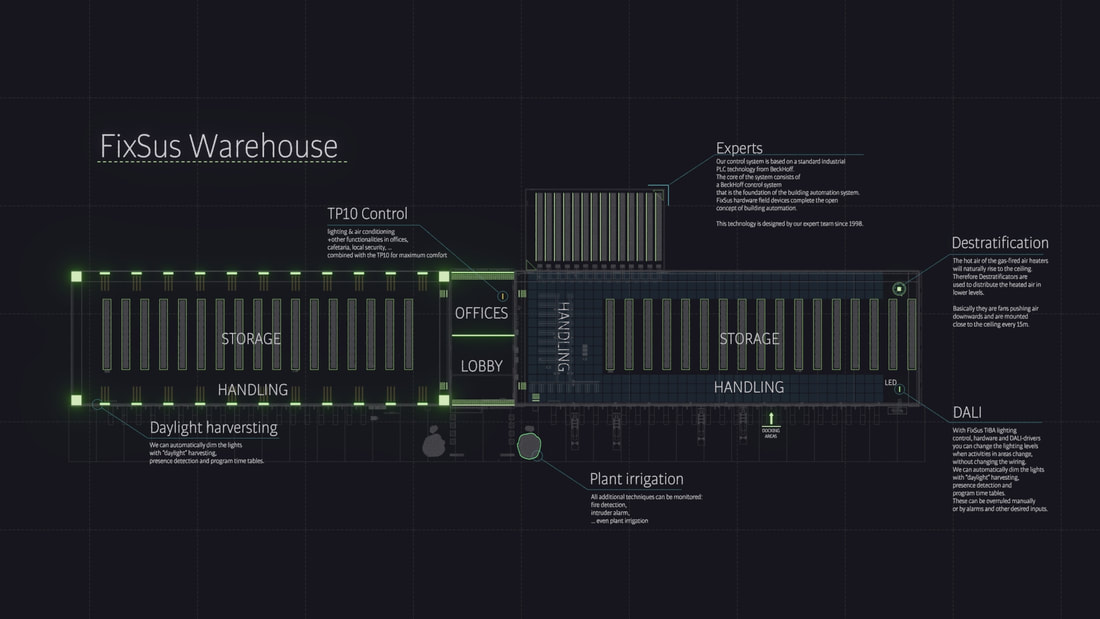
Fixsus bvba is a building automation company. They equipped multiple high profile company buildings with their technology in the past. Currently they have 3 major products: TP10 + RA + RC You can see a render of the products below or on their website. I was working for them on and off as a freelance Designer since January 2017, mostly involved in 3D related designs and animations to explain their hardware products in meetings and on fairs. For this project I had the opportunity to work with Tom de Backer, the marketing head of their company. He was responsible for proof reading and script (as well as Koen Verschuere the head of the company). Together with this delightful person we worked on it from approx. April until October 2018. That's quite a long time as we had 2 other animations and multiple website related stuff in the pipeline as well. The goal: to make a clean warehouse proposition animation. |
 Johannes Steidele- were-houser -Just another artist from Berlin working on establishing a werehouse studio (ha! get it?!) to breed werewolfs. The goal is to establish a themepark on the moon (obviously !). Currently we're hosting open auditions for Red Riding Hood to enact a scene with the werewolfs... Well that and to find a magic cure to regrow hair |
|
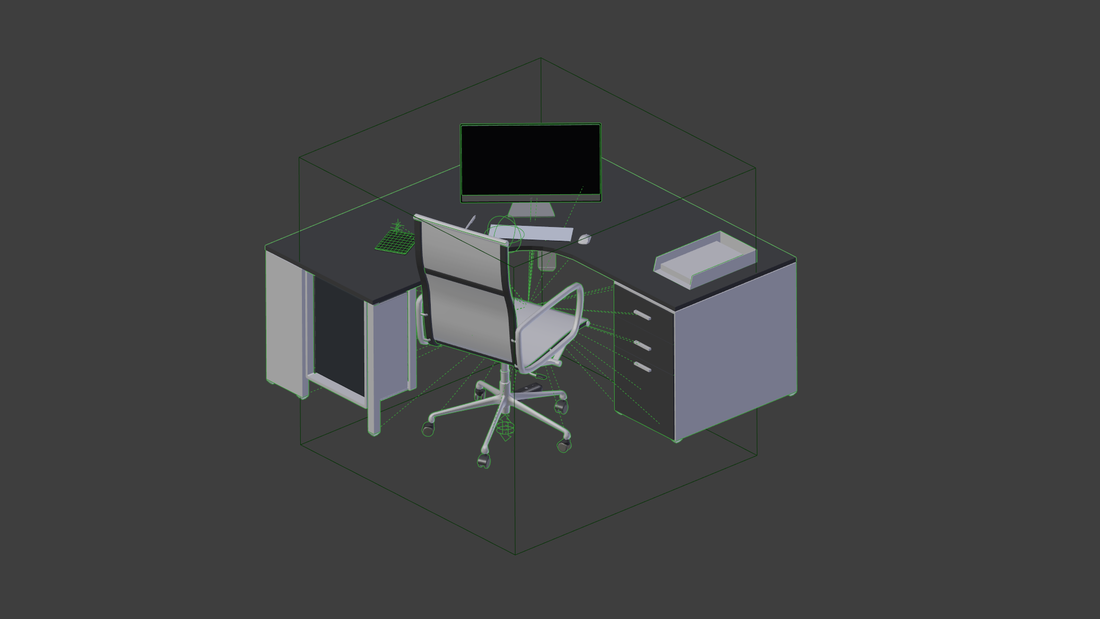
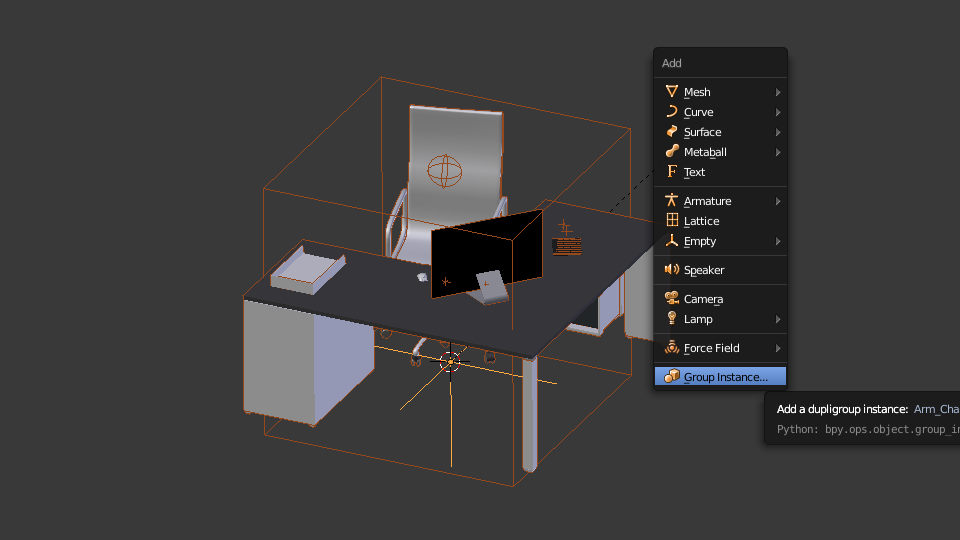
When you have to finish such a big project as a 3D soloist you will have to rely on sites like blendswap sometimes, which provides blender models to download for free such as the truck by Kartoffelphantom. None the less I still had to model quite a bit of assets to make believable 3D scenes and to populate the vast warehouse space (this is where podcasts come in handy ... like "Hello from the magic tavern" or "Imaginary Worlds" ) . The Asset Management addon as well as Hard Ops and Decal Machine were extremely helpful in the process. Asset management lets you load in 3D models, materials and scenes into your project blendfile super quickly and easily. So you can effectively build your own library of models. Hard Ops was great for modeling anything actually. The quick bevel apply and other features make it a must-have really, to a point where you have to ask yourself why it isn't part of the official blender build. Decal machine was extremely handy in quickly adding details to any model by overlaying premade textures which are projected on planes with alpha channels and parallax materials to make the transition flawless; extremely valuable in scenes with alot of objects. Finally I also used HQ textures by Poliigon (the awesome texture site with the gamecube-esque logo) to really push the realistic look. Little later I discoverd cc0 textures which is a free and awesome alternative. Here's a handful of the assets which I created for the animation... |
BLENDSWAP
TRUCK
by Kartoffelphantom ASSET MANAGEMENT
(not the official logo) Hard Ops
Decal machine
|
|
|
|
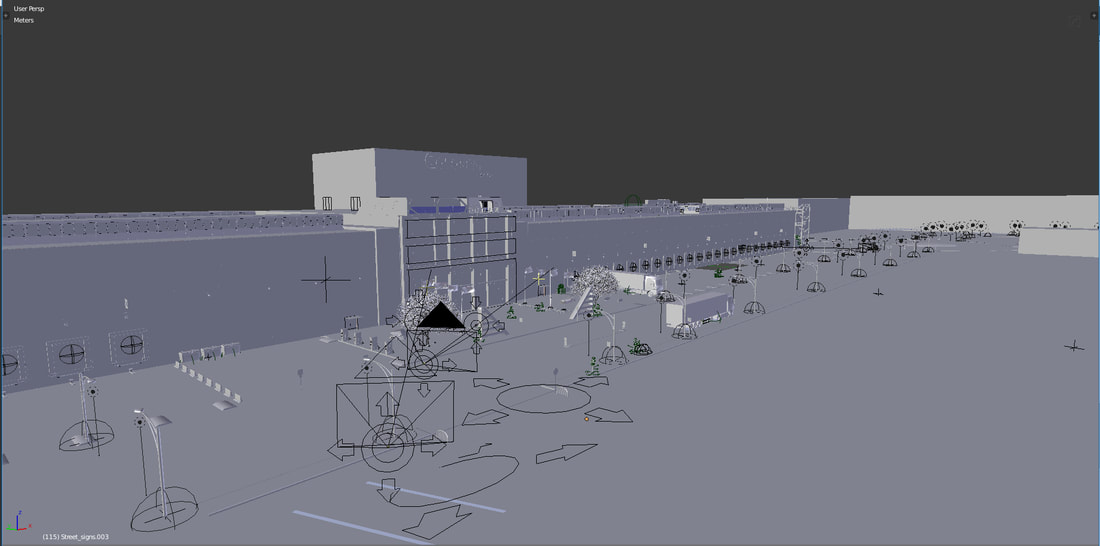
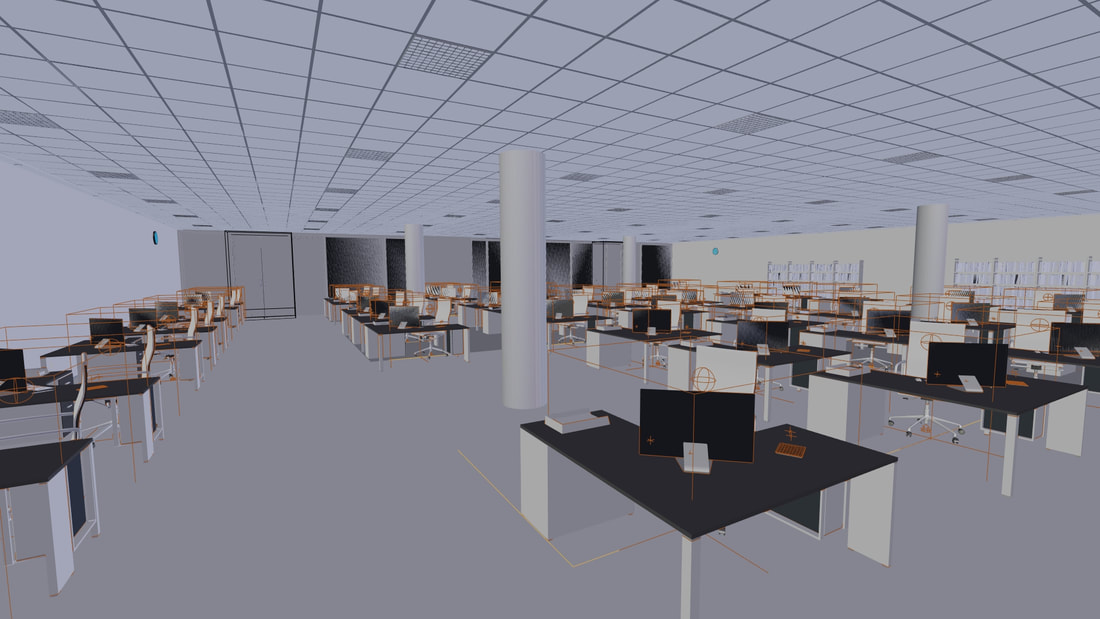
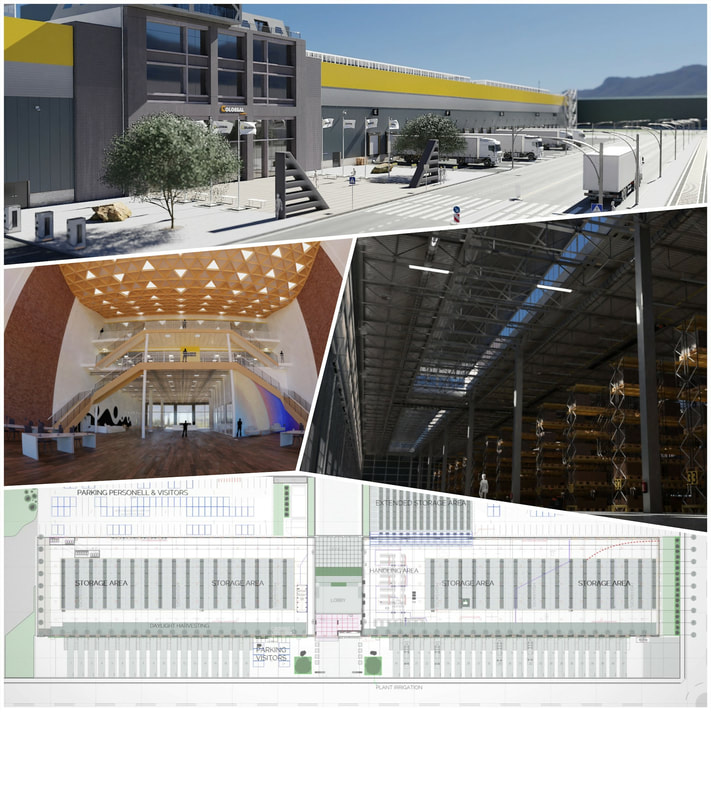
With the script fleshed out and deliciously served I started conceptually blocking out the shapes. Don't be afraid to experiment in that phase as you want the best outcome for your client. You should also constantly check for good reference as you are trying to piece together a complex structure. FixSus even provided me with a DHL warehouse building reference photo which they had previously equipped with hardware. The most important tip that I can give you right now, is to import a human model or a shade texture to cross reference the entire world which you are building visually and by measures. When working in 3D it's always handy to have a size reference. I used a simple Black human figure at roughly 1.80m, height as you can see below. |
(you can pause the gallery if it distracts you from reading)
|
|
|
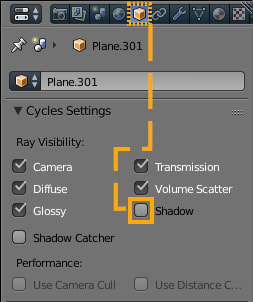
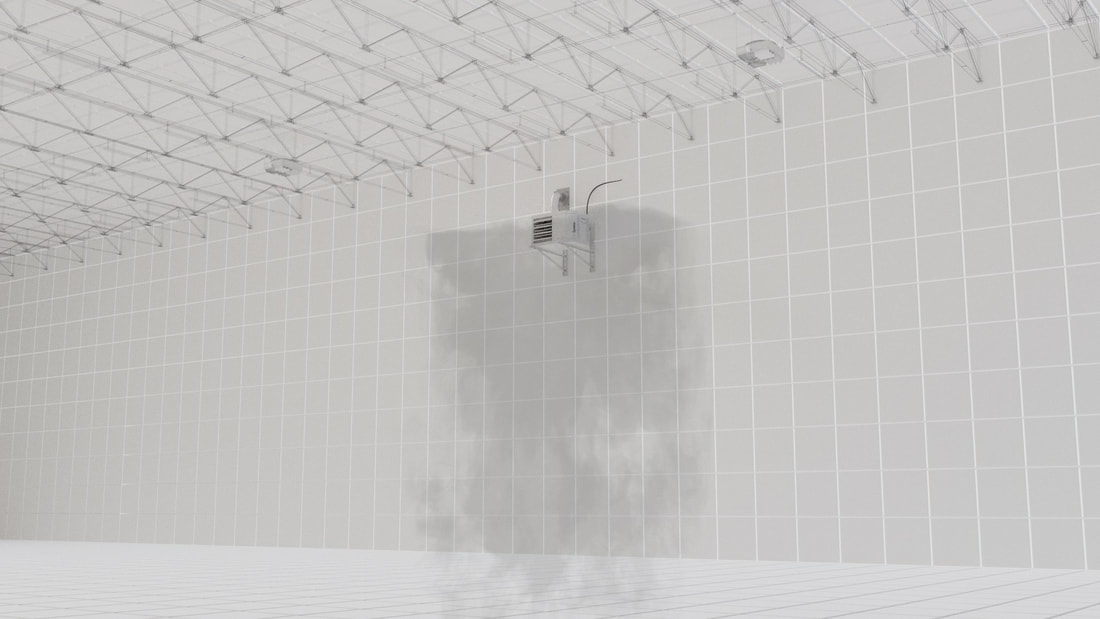
I ultimatelly went with an "open" look for the warehouse intro scene, trying to not visually cluster the piece with too much information. Some small animations in the background, simple walk cycles here and there and moving assets all together did the trick (for me at least). To make the roads look as realistic as possible I turned to Poliigon for their superb road textures. Extra road markings are simply cut out alpha textures which are applied without any cast shadow. You can toggle it off in the objects tab in cycles. Pro Tip: press and hold ALT to modify parameters for multiple objects. |
Textures can be easily applied as detail
planes, just switch off the shadow.
planes, just switch off the shadow.
|
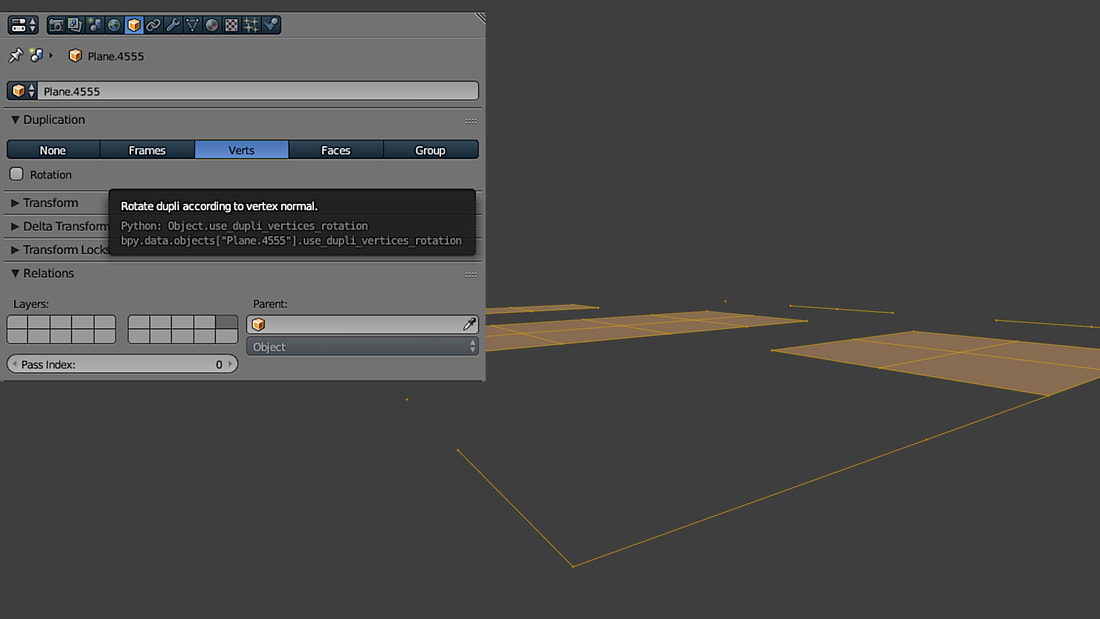
Obviously the large warehouse space needed to be filled with a myriad of objects, cumulating to a lot of memory. I found a solution to that problem by using a mix of dupli-verts and particle systems to distribute the boxes and to build the racks. This way I could quickly adjust the scene if we needed to add something on the fly. I actually have a tutorial on that topic which you can find here: ( " Handling large amounts " ) |
GO TO TUTORIALS
Wrapping up
|
There is obviously quite a bit more happening in every scene which I can not talk about it in this medium as thoroughly as I would like to. I hope you did find some love for this little detour into warehouse life anyways. Let me know if you want to know more in the comments below! If you like these articles, tutorials and more, please consider supporting me on patreon or check out my download store. Have a great day now! SEE YA! Johannes |


