Applying CUSTOM TRANSITIONS / OVERLAYS FOR THE BLENDER VIDEO SEQUENCE EDITOR (VSE)
There's a video version of this tutorial, you can watch it here:
Moonacious greetings lads and ladies

Lately I've been digging a bit deeper into Blender's V.S.E.
In the VSE you can apply awesome overlays and transitions for your extraordinary animations and films. Let's get started and open up Blender's VSE 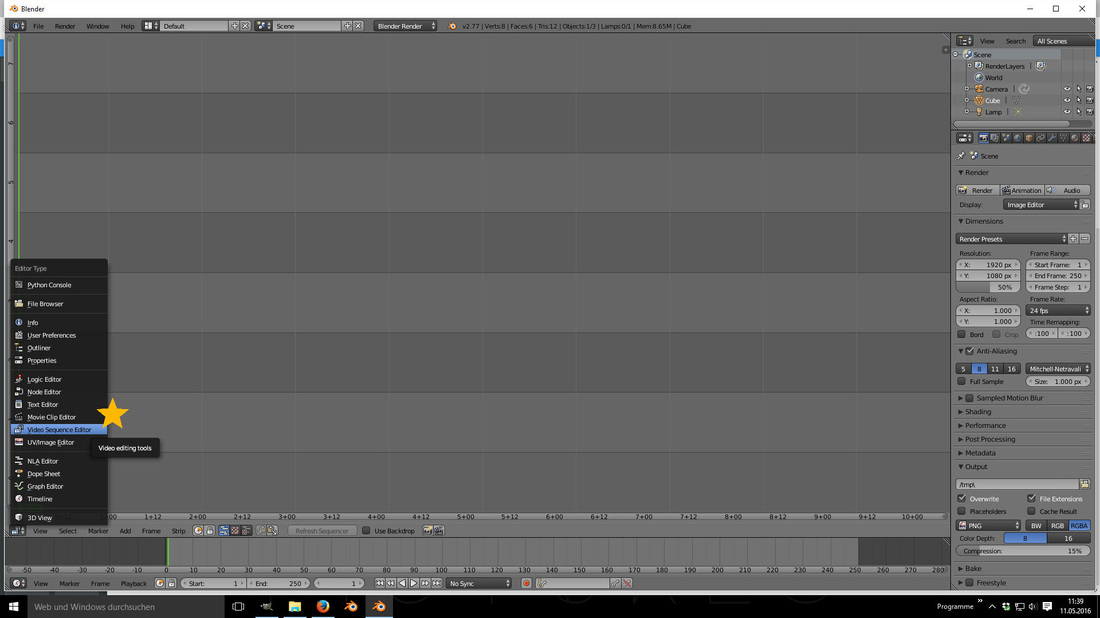
In order to get your first results quickly you just need to load in 2 video files. (Shift + A)
Either take something from your Hard Drive or download some of these Public Domain videos which can be found on ''POND5''. It's entirely free, but they also offer other video footage for sale. 
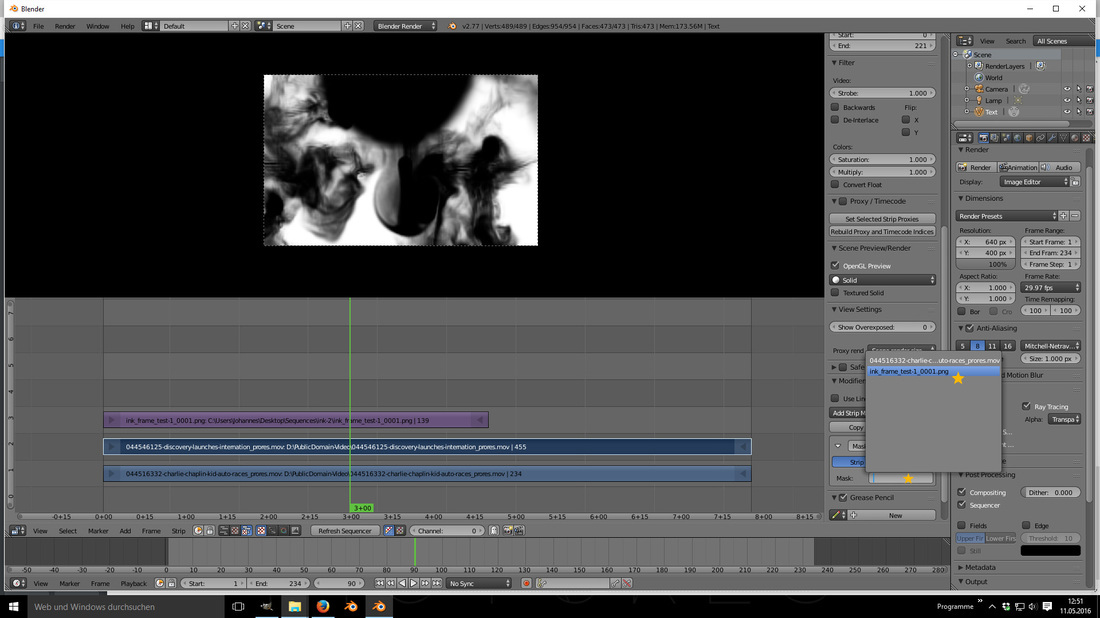
Now you need to load in both videos and align them atop of each other
( Press SHIFT+A to search for your video files ) Also make sure that you enable the button as indicated by the yellow line to see both your video and the VSE. 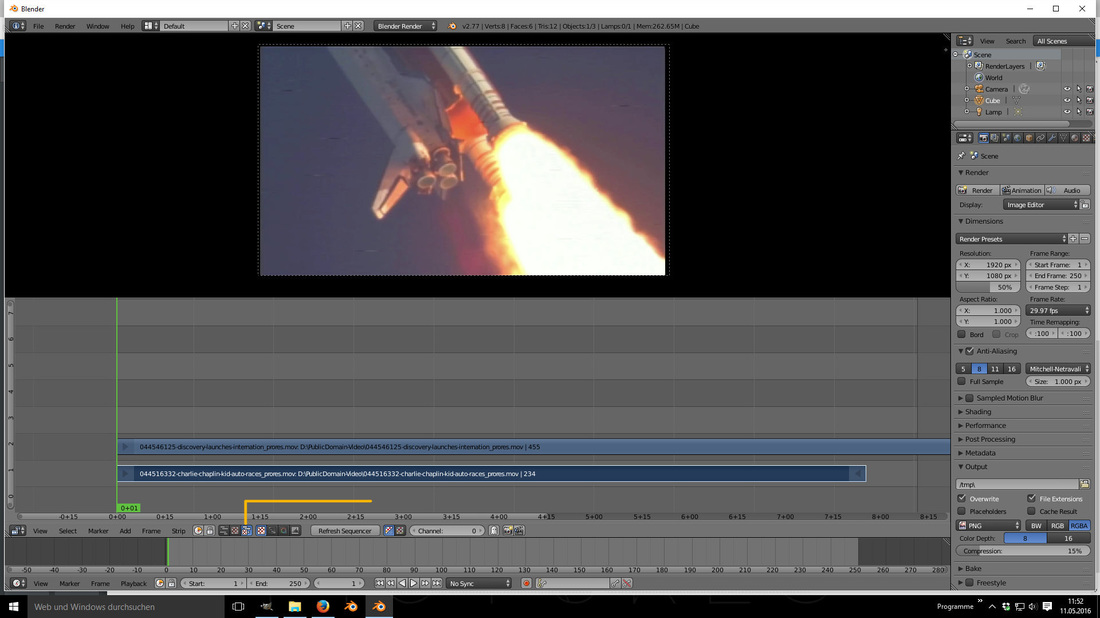
You can cut your videos as desired.
( Press K to cut SELECTED [ ! ] video files at the green line ) Next up load in the Tutorial Transition Sequences that I prepared for you. Note that the Tutorial Transitions are free but you can get the entire collection for 3 € ( thanks for the support to those who bought it ! ) 😍 ❂
Here comes the fun !
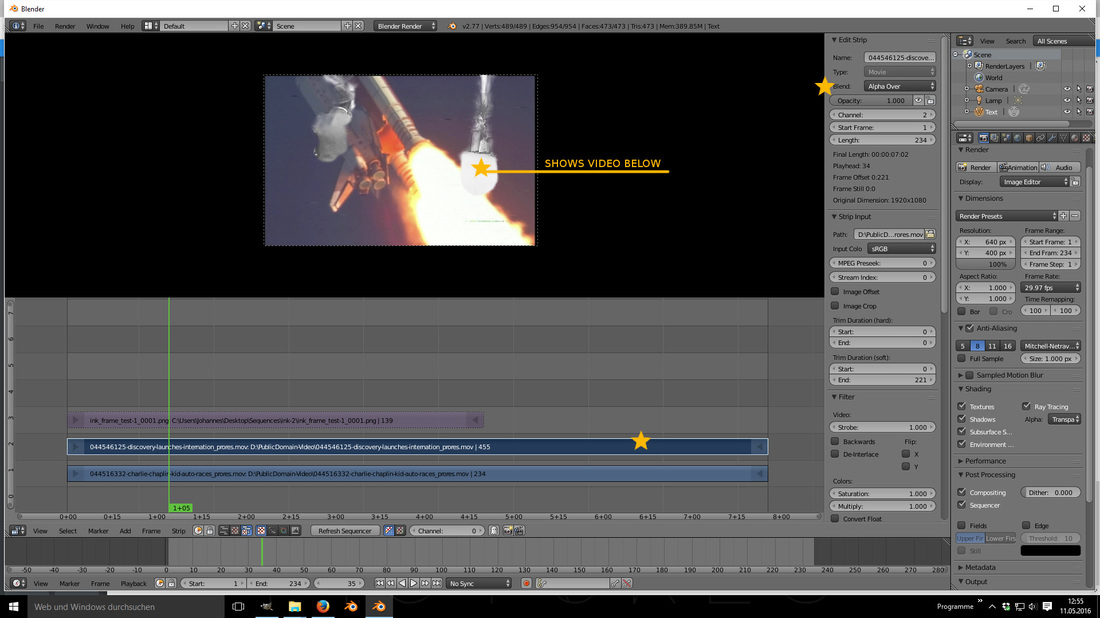
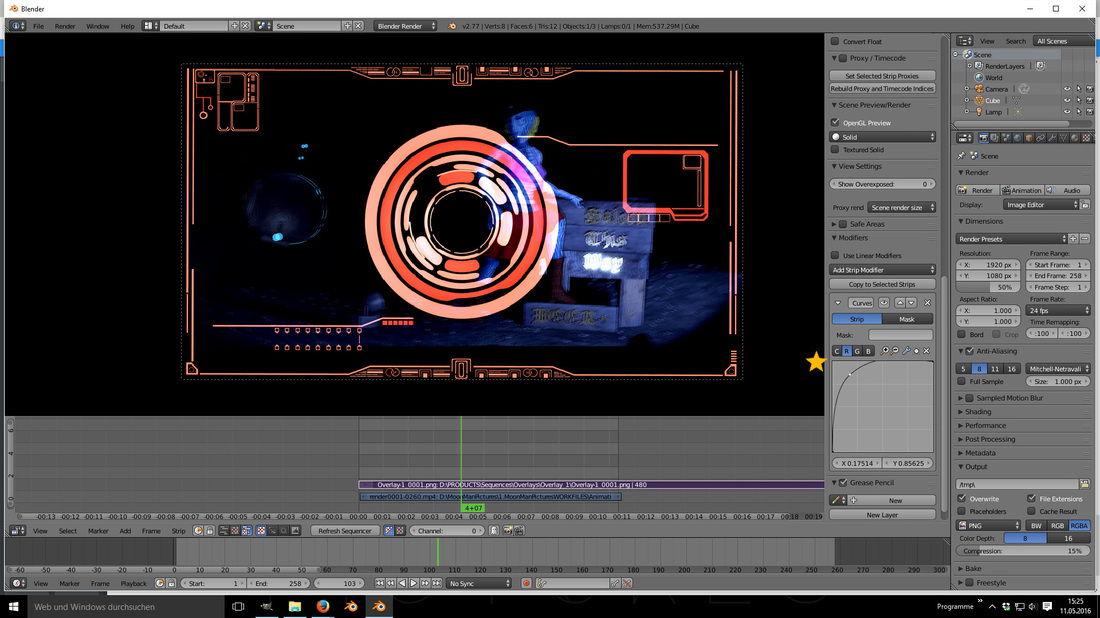
import your animated masks sequence. The files are single images with (mostly) 1920x1080 resolution. When importing an image sequence, Blender automatically recognizes the files as a sequence and aligns them appropriately. Postition the imported mask over your videos as shown 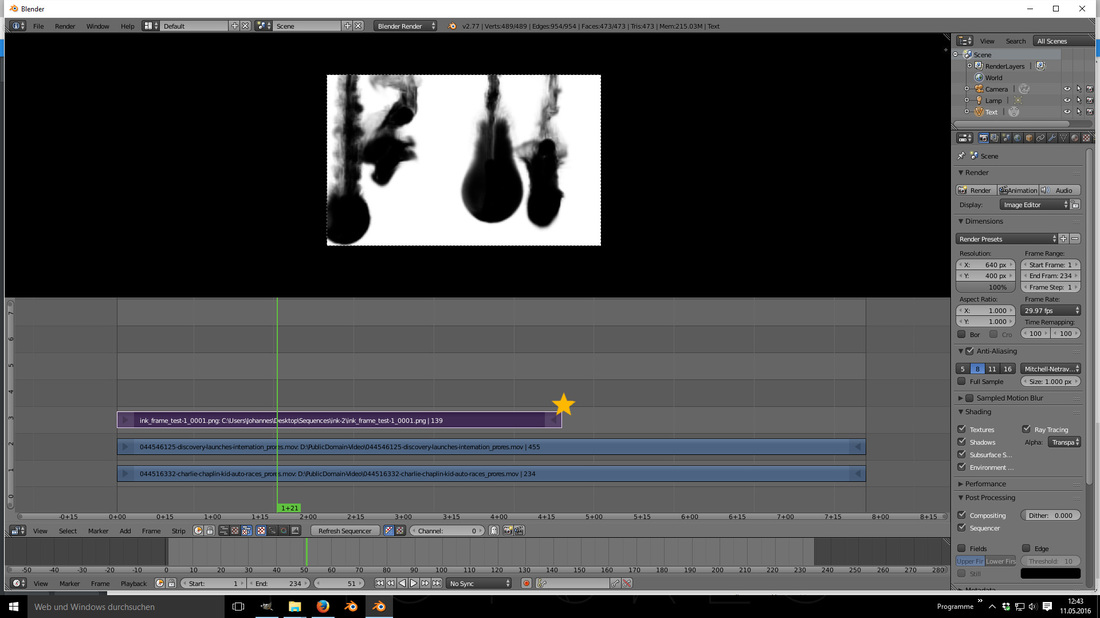
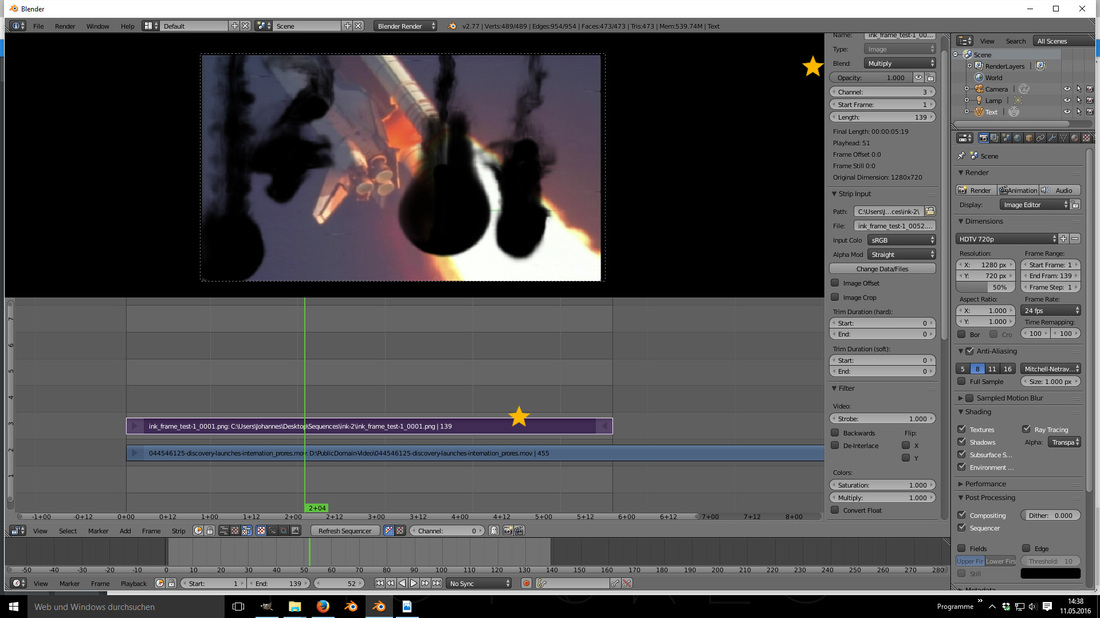
For now we can only see the mask when playing our movies ( as it's the at the very top of the movie stack ) ( Alt + A to start playback ) so just hide the mask ( Select the mask sequence and press H ) now select your movie file below the mask and hit N to bring up the properties shelf. 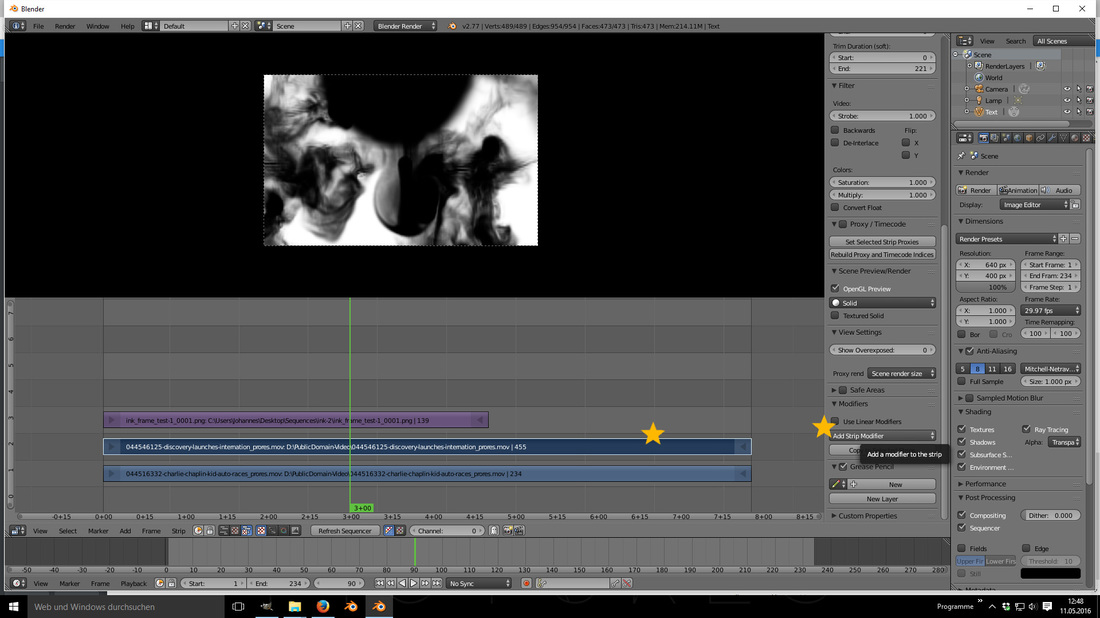
Select mask as the active modifier and select your mask sequence
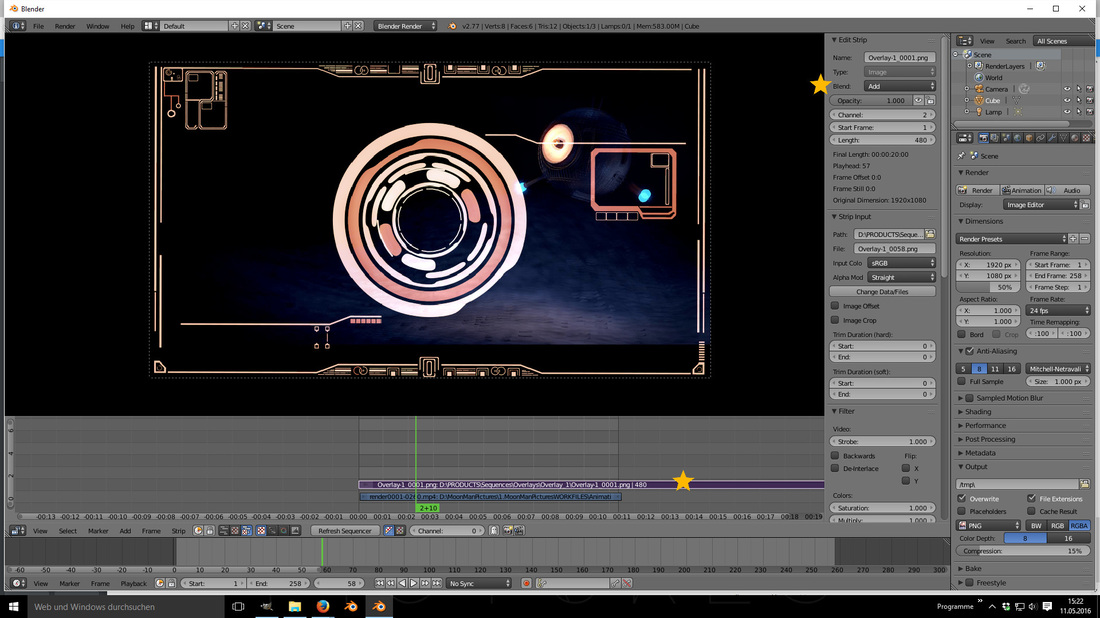
ET VOILA !
|
 Johannes Steidele- head of masketing -Just another artist from Berlin working on establishing a film studio to finance the daily pizza and beer. The goal is to mask the mask of the mask with a mask of the mask of the mask (obviously ! ). Well that and to mask the sun so I can't get those nasty sunburns on my head anymoreMore Articles
Showcase
TUTORIALS
OTHER
News
|